When you want to test a login page with a username and a password, sometimes (each time, in theory) you need to manage a CSRF token.
A CSRF token is used as a countermeasure against the Cross-Site Request Forgery (CSRF) attack.
It’s not in the scope of this note to explain what is a CSRF token and why you need to use one. If you are interested, check, for example, the Wikipedia page or the OWASP page on this subject.
To follow these notes, a basic knowledge of JMeter is required. Go to their home page for details.
Click here to download the JMeter Template file used in this guide.
Installation on macOS
Using brew:
$ brew install jmeter
Start JMeter:
$ jmeter
Load test a login page
The first element in the Test Plan is a “Thread Group” that specifies the user population of the test. You’ll find the number of users (i.e. threads), how many seconds JMeter will use to starts all the threads and how many loops any thread will make.
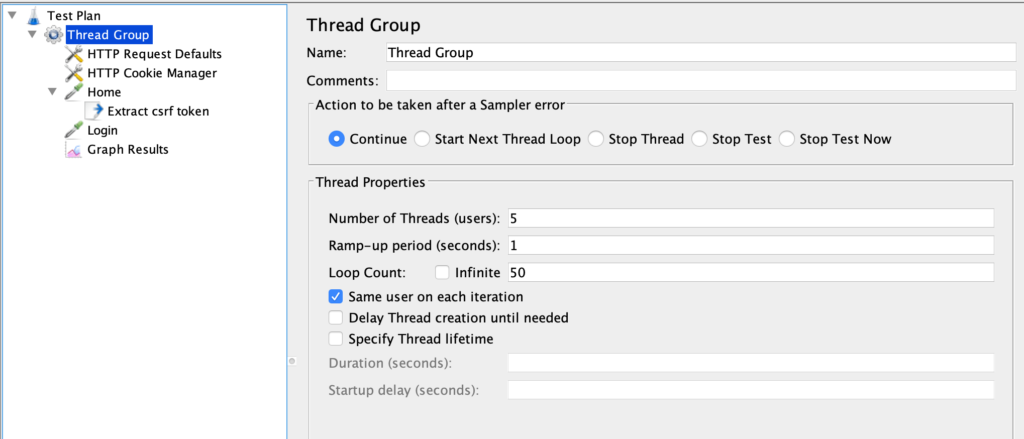
In this example, we’ll use 5 users/threads, each one repeating the test for 50 times; JMeter will start all threads in one second.
The second element is “Request Defaults” which sets some defaults for the requests in the Test Plan.
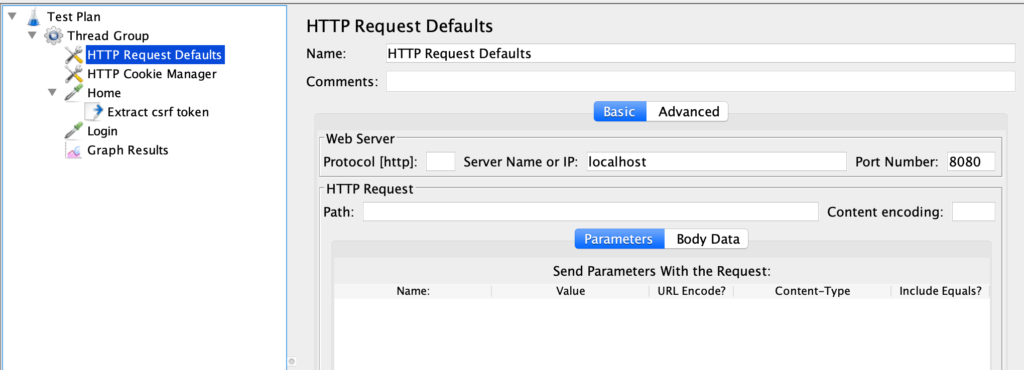
The only default configured is the server name (localhost) and the port (8080). We are testing a java web application that runs inside Tomcat but the technology stack and/or the platform used is irrelevant.
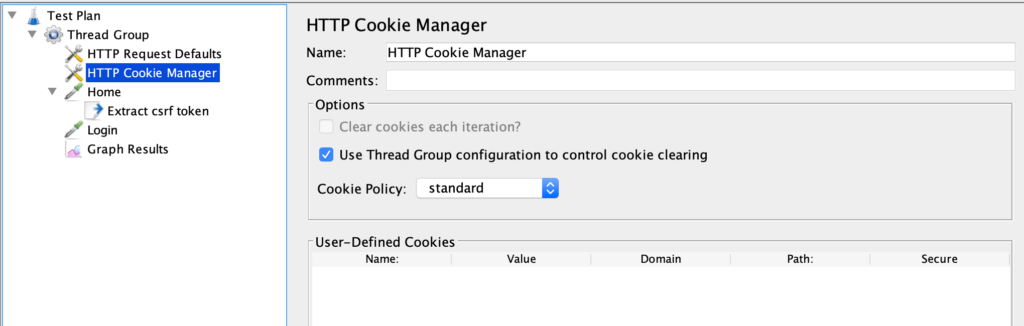
The third item in the Test Plan is a “Cookie Manager”, an element that records the cookies and shares them between subsequent requests.
After some infrastructure elements, we find the first “sampler”, an element that makes HTTP requests.
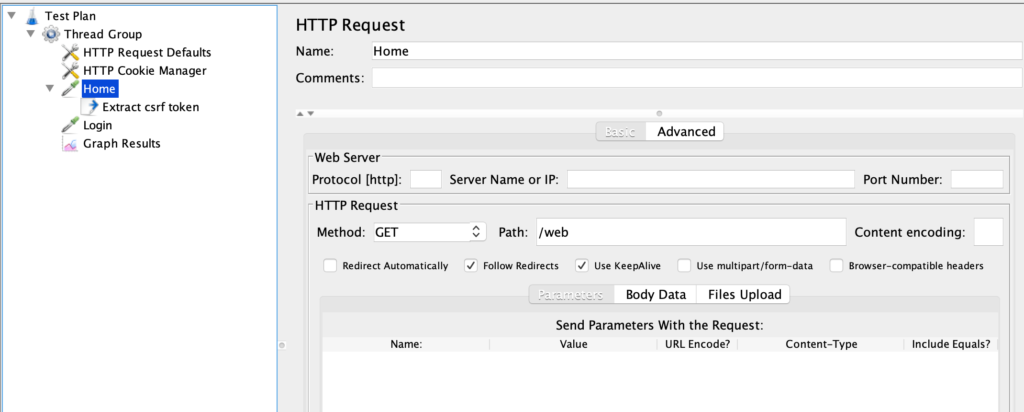
The “Home” element will make a GET request (method field) to the /web URL (path field). We are supposing that the server will respond with the login form with the “username”, “password”, and “_csrf” token fields. Something like that:
<form action="/web/secure/login" method="POST" >
   <input type="text" name="username"/>
   <input type="password" name="password"/>
   <input type="hidden" name="_csrf" value="a3970f64" />
</form>
We want to grab the value of the _csrf field because it would be impossible to make a login request without it.
The element under the “Home”, a “CSS Selector Extractor”, it’s a good choice to do so: it selects an HTML element, extracts one of its attributes and put it in a JMeter variable.
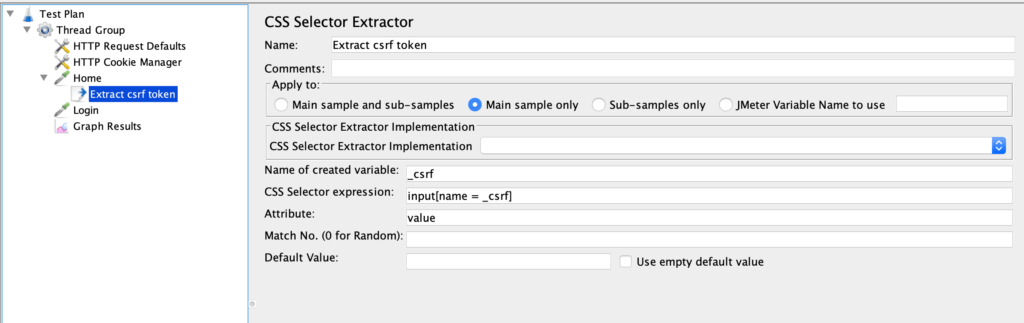
In the example, the CSS selector “input[name = _csrf]” finds the input field with the name “_csrf”, the attribute to extract is “value”, and the jmeter variabile to fill is “_csrf”.
Considering the previous HTML form, the resulting variable will be:
_csrf = a3970f64
Note that the CSS extractor is under the Home element. This is because of how the scoping rules work in JMeter: the extraction process happens only in the Home HTTP request.
JMeter has quite complex rules to define scopes and the order of execution of elements. To understand them please check the JMeter documentation.
We are almost done. The next element is another sampler (“Login”) responsible to make the HTTP request to log in the user.
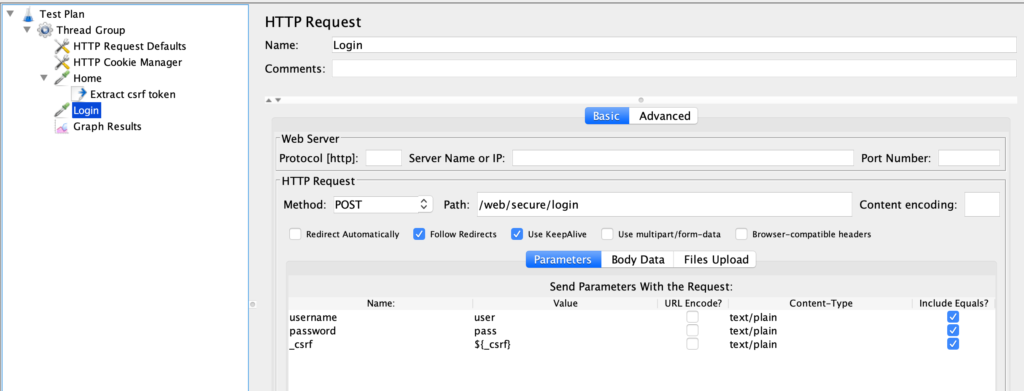
Remembering the previous HTML form, the method is a POST, the Path is its “action” attribute and the parameters are its username, password, and _csrf fields.
Note that the username and password are filled with known values (in the example “user” and “pass”), but the _csrf parameter is filled with the value of the _csrf JMeter variable (with the ${_csrf} syntax).
Running the test, you should see the server processing incoming login requests, accept them and let the user log in.
The last element in the Test Plan is one of the many “Listeners” available in JMeter: it collects the data produced by the samplers when the test is running and plots them in a graph:
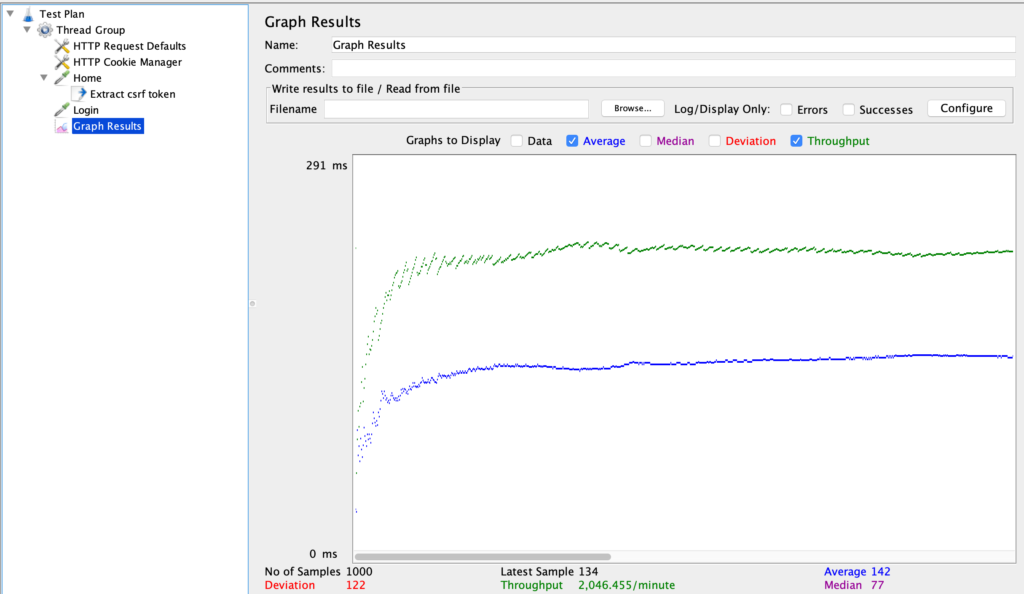
I’m not going into the details of the statistics collected and the meaning of the chart; check the JMeter documentation for such explanations.
Finally, note that running tests inside the JMeter UI is not the correct way to do real load tests. It’s useful only for debugging Test Plans; for real testing use the CLI mode.